Getting on with more story and trouble in solo for Fléaux, using Plot Unfolding Machine (PUM). Following on from the Starting Scenes.
Fléaux! solo - intro | start | partway | finish | all rolling solo
Disclosure - I'm a DriveThru RPG affiliate
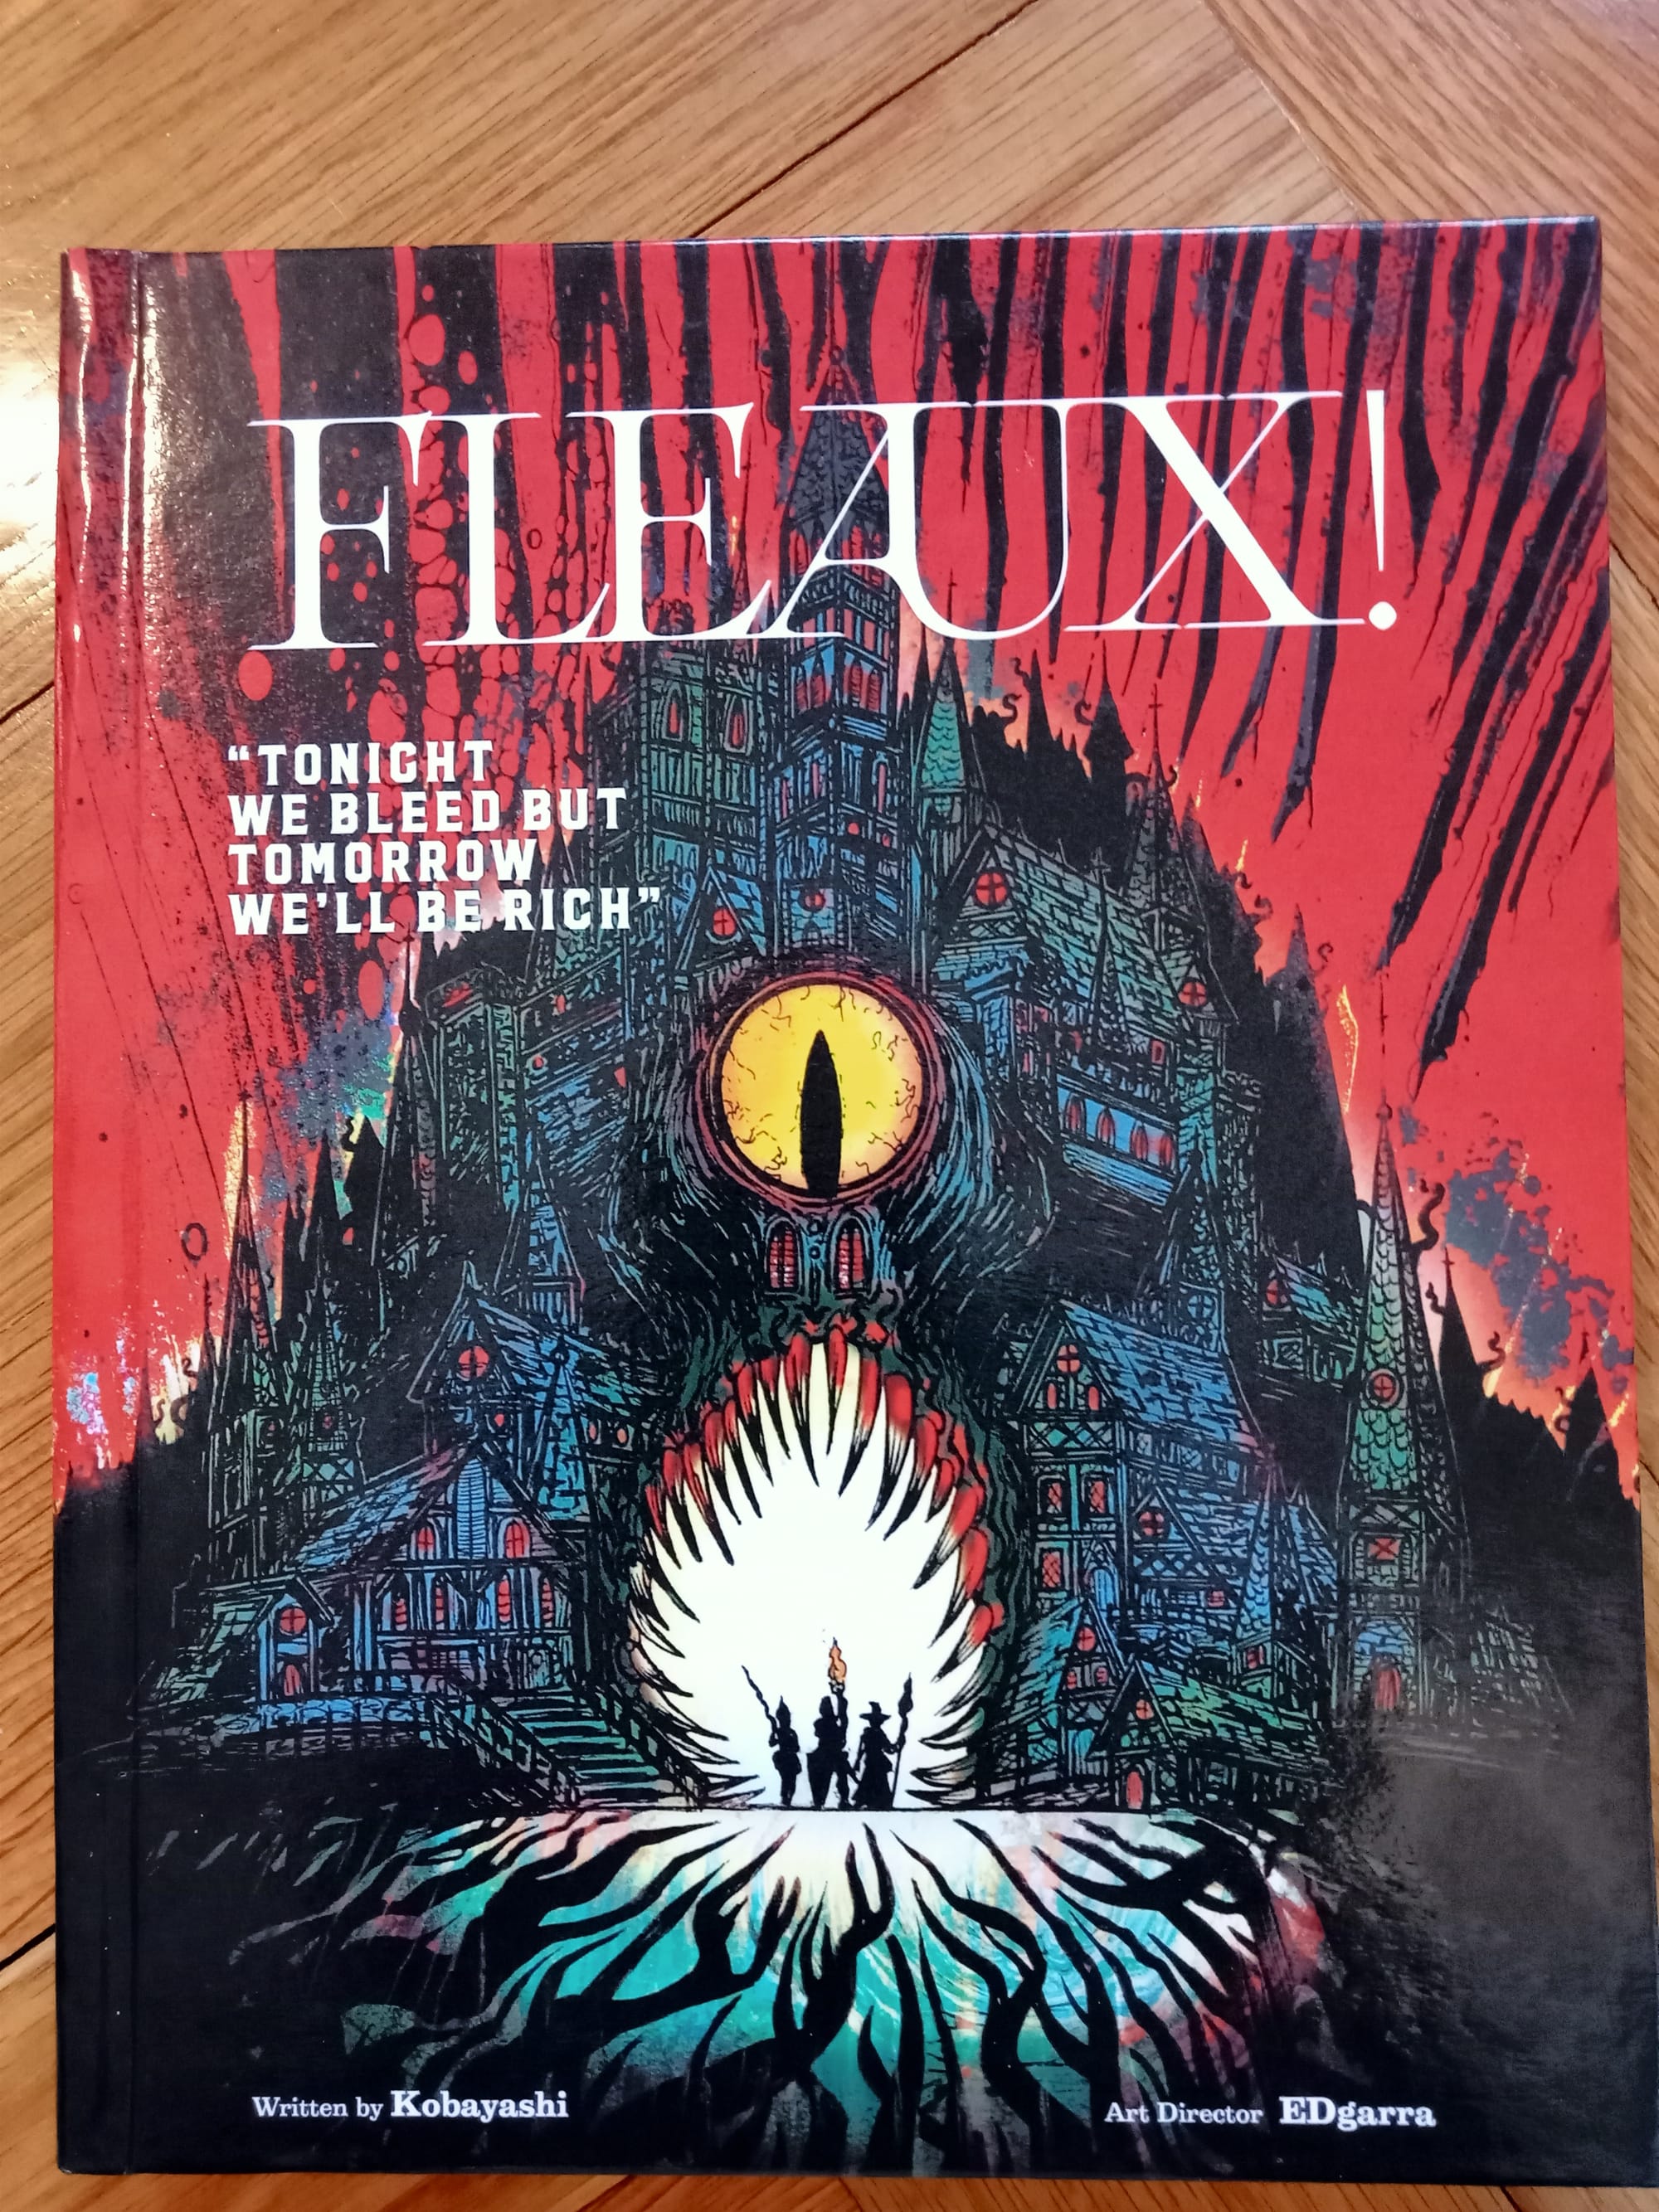
Thoughts on Fléaux
fléaux thoughts | pum notes | setup | scenes | chars & notes
Adding to starting thoughts on Fléaux!
Not much more to say really. I like this game.
Combat is dangerous, especially as any critical failure can trigger a check on Willpower. As willpower is a Usage die starting at d6, there's a 1 in 3 chance of it degrading to a d4. From a d4 any checks and it has a 50% chance of then being depleted, triggering a Helpless! roll (which is bad, with very bad consequences for a PC in this game).
And as you're taking damage in combat and maybe spending WP to trigger abilities, it gets dangerous very quickly.
Also got to see the magic system in use, albeit with only one spell. But it's simple, dangerous to use, flavourful and doesn't use limited castings, magic points or spell levels. Just a nasty table that can get triggered if you deplete your Willpower!
Levelling was a little underwhelming, each character gaining +1 hp and +1 to an attribute. But that's ok, as it's not a game about characters getting powerful quickly. Will probably level next time too to see the talents in action.
Thoughts on Plot Unfolding Machine (PUM)
fléaux thoughts | pum notes | setup | scenes | chars & notes
Adding to previous notes, Plot Unfolding Machine continues to provide a solid base for running a solo game. The scene structure and suggestions make it easy to come up with ideas for scenes and modifying them, tying into existing world and plot elements.
I also got to see the Disruption die in action. It triggered several surprises and changes midway through scenes which I love. A bit like triggering events from asking the oracle in Mythic GME or rolling doubles on d10s in Ironsworn.
The triggered events use exactly the same tables as the Expected and Random Beats/Scenes, which you'll normally have to hand anyway on your PUM Plot Sheet.
Lastly I recently did an interview with JeansenVaars, creator of PUM.
PUM Lists
fléaux thoughts | pum notes | setup | scenes | chars & notes
On the PUM plot sheet at start of scene 5 there was...
World and Game Elements
| 1d10 | World and Game Elements |
|---|---|
| 1-2 | Uncertain dusk (dusk is long and uncertain in Holsteinhaven) |
| 3-4 | Dangers from the ruins |
| 5-6 | A chaotic mix of chancers |
| 7-8 | Sea Monsters |
| 9-10 |
Relevant Encounters
| 1d10 | Relevant Encounters |
|---|---|
| 1-2 | Hired thugs |
| 3-4 | An old rival |
| 5-6 | The Bounty Hunter - Reef |
| 7-8 | Roll on d6 Plot Hooks for Holsteinhaven in Fléaux book |
| 9-10 | Swirl Windward |
Useful Findings
| 1d10 | Useful Findings |
|---|---|
| 1-2 | A clue about the Rectangular Shield |
| 3-4 | A Rectangle |
| 5-6 | A treasure of the ruins |
| 7-8 | An elven treasure |
| 9-10 |
Pending Questions
| 1d10 | Pending Questions |
|---|---|
| 1-2 | Where is the Rectangular Shield? |
| 3-4 | Who has hired them? |
| 5-6 | Is there more than one bounty hunter? |
| 7-8 | Can Hermits of isle help find shield? |
| 9-10 |
Adventures of Max, Albin, Morwen and Morgan
fléaux thoughts | pum notes | setup | scenes | chars & notes
At the end of the last scene, they were ready to set off to Queenswood Isle, home to heretical hermits. Continuing from the Starting Scenes.
Scene 5 - Temple of Asquin (All at maximum)
A Random Beat 6 - lead to an interesting Location. Oracles - Magical, Historic.
With a chance to rest, the crew and passengers of the Mojo make good time. But worried another ship is following them, so shelter near to an old stone structure. As the Mojo approaches, the structure rises from the water, floating above the sea with no-one in sight.
Max and Albin insist they investigate, once the ship following them passes on by. The group take a rowboat out to the floating structure, sending Albin up on his rope and grapple. He climbs up to the top and the others follow, finding a temple at the top.
(Oracles indicated a temple, with priest as monster, which I matched to Fléaux monster - Bronze Golem)
The top of the structure is dominated by a bronze statue and adornments of chains and anvils. Max feels a sense of familiarity here, and tells them this is a famed temple of Asquin, god of Beginnings, Births and Oaths. Morwen wants to be gone, as they are not friends of the Rectangulons.
But Maximian insists they stay, as this is the high temple of Asquin, and the statue is the high priest. This is a place of power, and he knows because he grew up in a temple of the same god.
(Chaotic appearance, external threat. plus Disruption - Treasure of the ruins)
From the top they can more. There is a large garden, with a few stone buildings, among a large bronze statue. Stone steps lead down into the structure. A pair of fearful priests approach group, welcoming them to the Raised Garden of Asquin.
Max greets the priests, notices other figures gathered around the statue bas, some injured. Morven studies the top of the structure, pointing out to Morgan that the temple is not square, but rectangular. Morgan eyes it speculatively.
One priest with an air of authority introduces herself as Mother Grime, a young woman with old eyes, a baby strapped to her back. Her companion carries a shield with the symbol of Asquin, one of the few warriors among those gathered here.
Max tells them they come to swear an oath, giving thanks to Asquin. After some conversation, Mother Grime tells them they have a dangerous problem below. They received a treasure in tribute, a large golden chest from the Ruins, which they took to the chambers down below. Something has been attacking them there, and they retreated to the garden where they are safe. They are not warriors, with only a couple of guards. Normally the bronze statue protects them, but it is too large to enter below.
Morven asks for a treasure in payment, refused by Mother Grime. Then Max takes leads, agreeing to swear an oath to remove the golden chest from here, as this is why they are sent. Mother Grime accepts, offering to name Max the Protector of the Golden Tomb if he succeeds.
Morgan then asks politely if she has heard of the Rectangular Shield and Mother Grime says of course, pointing to the bronze statue. It turns to regard them, displaying a bronze shield with a rectangular shield on the front. the artifacts was gifted to them by the Iron Sentinel, of the Flying Citadel of Endings, companion temple fo the Garden, of an allied deity.
(Answers questions - "Where is the Rectangular Shield?" and "Can hermits of Isle help them find the Shield?".
Maximian given an explosive vial ("holy water", d8 damage) to start to go down. The bodyguard has found renewed faith and says a prayer to Asquin.
Scene 6 - A Chest of Gold (Max at d4 Willpower)
(Expected scene - investigate the chest - roll of 9, bring someone convenient)
Mother Grime leads them down below, leaving her baby with another priest. They follow through several corridors, reaching where a large chest of gold sits. It is on a balcony, overlooking a vaulted subterranean temple to Asquin. Two sets of spiral steps lead from temple up to the balcony. It is unusually cold down here.
Mother Grime tells them the chest is theirs if they can get it out of here. On closer inspection the chest is covered with a sheen of ice. She tells them two priests have been torn up down here. Didn't see attacker but heard shots that sounded like a pistol being fired.
(Disruption - someone quite inconvenient turns up)
As Mother Grime turns to leave, hear footsteps and see captain Limata appear, having come over from the Mojo and directed down here. She and Mother Grime stare at each other a while, then return up to gardens to discuss something.
Group left alone with the chest, Albin takes a look and readies lockpicks bought back in the city. Morgan marks it with his blood, using the spell Blood Mark, which lets him always know where it is (but losing 1 HP until mark removed). Morven readies her musket, Max has axe and holy water as Albin picks the lock
(Reaction - Rectangular warning, Disruption - encounter an old rival)
The chest starts glowing with interlocking rectangles, symbol of the Prophet of Rectangles. Morgan and Morwen wary, as they left the prophet in bad terms. From inside the chest a figure of icy rectangles rises up (stats of War Demon) and trouble ensues.
All fail panic rolls except Morgan. Albin flees up to the gardens, Max and Morven digging deep to stay. Morwen holds up rectangular symbol and declares they are followers of the Rectangle. It looks at her and Morgan, but then points at Max.
Max throws his holy bottle of Asquin but misses, landing in some water beyond. Morwen overcomes fear and they engage the rectangle fiend with spear and axe. Fight is hard, with Morgan helping where he can. Land blows on the fiend, but Morwen and Max both injured. When Morwen tries to retreat, Max refuses to follow as taken oath. Then Maximian is struck down by the fiend (triggering two Panic rolls, two heart attacks, one ending in death). But Morgan blessed as his thrown spear (critical) slays the creature.
the fiend collapses down to a small rectangle of gold, and the chest fades to bronze.
Scene 7 - Change of Ownership (Morwen at 1 hp, d4 Willpower, Morgan down 1 hp from spell)
(Random Beat - Learn someone's dark secret)
(Level up all of group to Level 2)
Taking the gold rectangular the group retreated to the garden above. Morgan first marks a stone door with a Blood Mark spell, so they know where the floating temple is.
They are thanked by Mother Grime for removing the threat, and leave corpse of Max with the priests after taking what is useful. Albin says a goodbye to his companion in trouble. Then return to the Mojo along with captain Limata.
Sailing on toward Queenswood Isle, they have chance to rest. Early next morning Limata calls group to her cabin, with some unwelcome news. She can take them to the Isle, but no further, as she has sold the Mojo to a passenger to cover a debt and then intends to hide in the island among the hermits.
They are introduced to the new captain, a tiny halfling in immaculate clothes, name of Dagwood (very well connected, more than they appear). Morgan goes pale when see them. Dagwood explains he is visiting the hermit, then taking the Mojo beyond the island to somewhere enchanted. They can stay but have to pay for passage.
(Disruption - deal with PC's basic needs)
Heeding Morgan's warning, group take matters into their own hands. They negotiate to be dropped by boat onto Queenswood Isle. Gathering their gear and a quick goodbye to the crew, they are put ashore on Queenswood Isle on side away from the hermitage, on a wooded beach.
They think they have no food, until Albin reveals he stole week's food from the Mojo
Scene 8 - Trouble Follows (Morgan down 2 hp from spells)
(Random Beat - Encounter - Swirl Windward)
Sitting around a fire on beach, cooking food, discussing next move and what happened at the Raised Garden of Asquin. Morgan and Morwen want allies or magic to help take the Rectangular Shield and possibly the temple too. Morwen argues for visiting hermits who study rectangles on the isle.
They see a sail, and recognise the three-masted ocean-going ship as the Windward, armed and dangerous. As they watch, they realise they've been spotted. A longboat is lowered and a familiar form scuttles down with a few companions.
They recognise Reef the bounty hunter. Although the Windward is sailing on, the group don't stay to greet the longboat. Morwen, Morgan and Albin flee to the island interior.
No doubt Reef is not far behind.
Next Scene 9 - Random Proposal (Morgan down 2 hp from spells)
Characters and Adventure Notes
fléaux thoughts | pum notes | setup | scenes | chars & notes
Albin
Elf (Talking to foreign merchants) Burglar, Accused of killing a royal officer. Resourceful, distant, odd mismatch of clothes.
STR 12, DEX 11, ERU 9, CHA 12, GUT 10, MEL 9, SHO 11
Level 2, HP 12. Advantage on Climbing, Lockpicking and Stealth.
Equipment: Sling, rope, grappling hook, mirror, staff, lockpicks, 2 days food, 9 shillings
Morwen
Goblin (Mines owned by elders) Mercenary, Accused of being an apostate. Ambitious, acolyte of Rectangulons, seeking the Rectangular Shield, wears rectangular pieces of colourful cloth.
STR 10, DEX 10, ERU 9, CHA 9, GUT 12, MEL 12, SHO 10
Level 2, HP 11. Damage die +1 size.
Equipment: Light armour, knife, spear (d8, 2-handed), backpack, parchment, ink and quill, musket, gold rectangle (Blood Mark from Morgan), 2 days food, 54 shillings.
Morgan
Human (Farm) Sorcerer's Apprentice, accused of killing a noble. Old, favours precious jewellery
STR 11, DEX 10, ERU 12, CHA 9, GUT 11, MEL 10, SHO 9
Level 2, HP 12. Know spells Bloody Mark and Boneless. Marks on golden rectangle and a door in Floating Garden of Asquin.
Equipment: Knife, battleaxe, 2 days food, 16 shillings
NPCs
- Reef. Huge human (Ogre stats) bounty hunter, feared in Holsteinhaven, uses axes.
- Swirl Windward. Owns ship the Windward. Famous explorer, distinctive hair, ice imp pet, putting together expedition.
- Limata. Stinking human trader (foul incense). Assistant. Believes Reef is after her. Hoping to hide among hermits. Old enmity with Mother Grime.
- Biscuits. Odd Goblin assistant of Limata. Mismatched features.
- Slip. Chaotic fence, mismatch of clothes, monstly runs the Night Market. Claims to know where the Rectangular Shield is.
- Mother Grime. Powerful priest of Raised Garden of Asquin. Young, with old eyes. Carries a baby. Old enmity with Limata.
- Dagwood. Thin halfling, immaculately dressed. Well connected, feared. New owner of the Mojo. Heading to a magical island.
Finishing Up
Both Fléaux and Plot Unfolding Machine have been a pleasure to run so far. Looking forward to seeing if they can survive Reef and get the Rectangular Shield from the Raised Gardens...
Happy Gaming!