Final part of Fléaux solo, where Rectangles collide with various other objects... Following on from the Partway Scenes.
Fléaux! solo - intro | start | partway | finish | all rolling solo
Disclosure - I'm a DriveThru RPG affiliate
Final Thoughts on Fléaux
fléaux thoughts | pum notes | pum lists | scenes | chars & notes
Building on previous Thoughts on Fléaux.
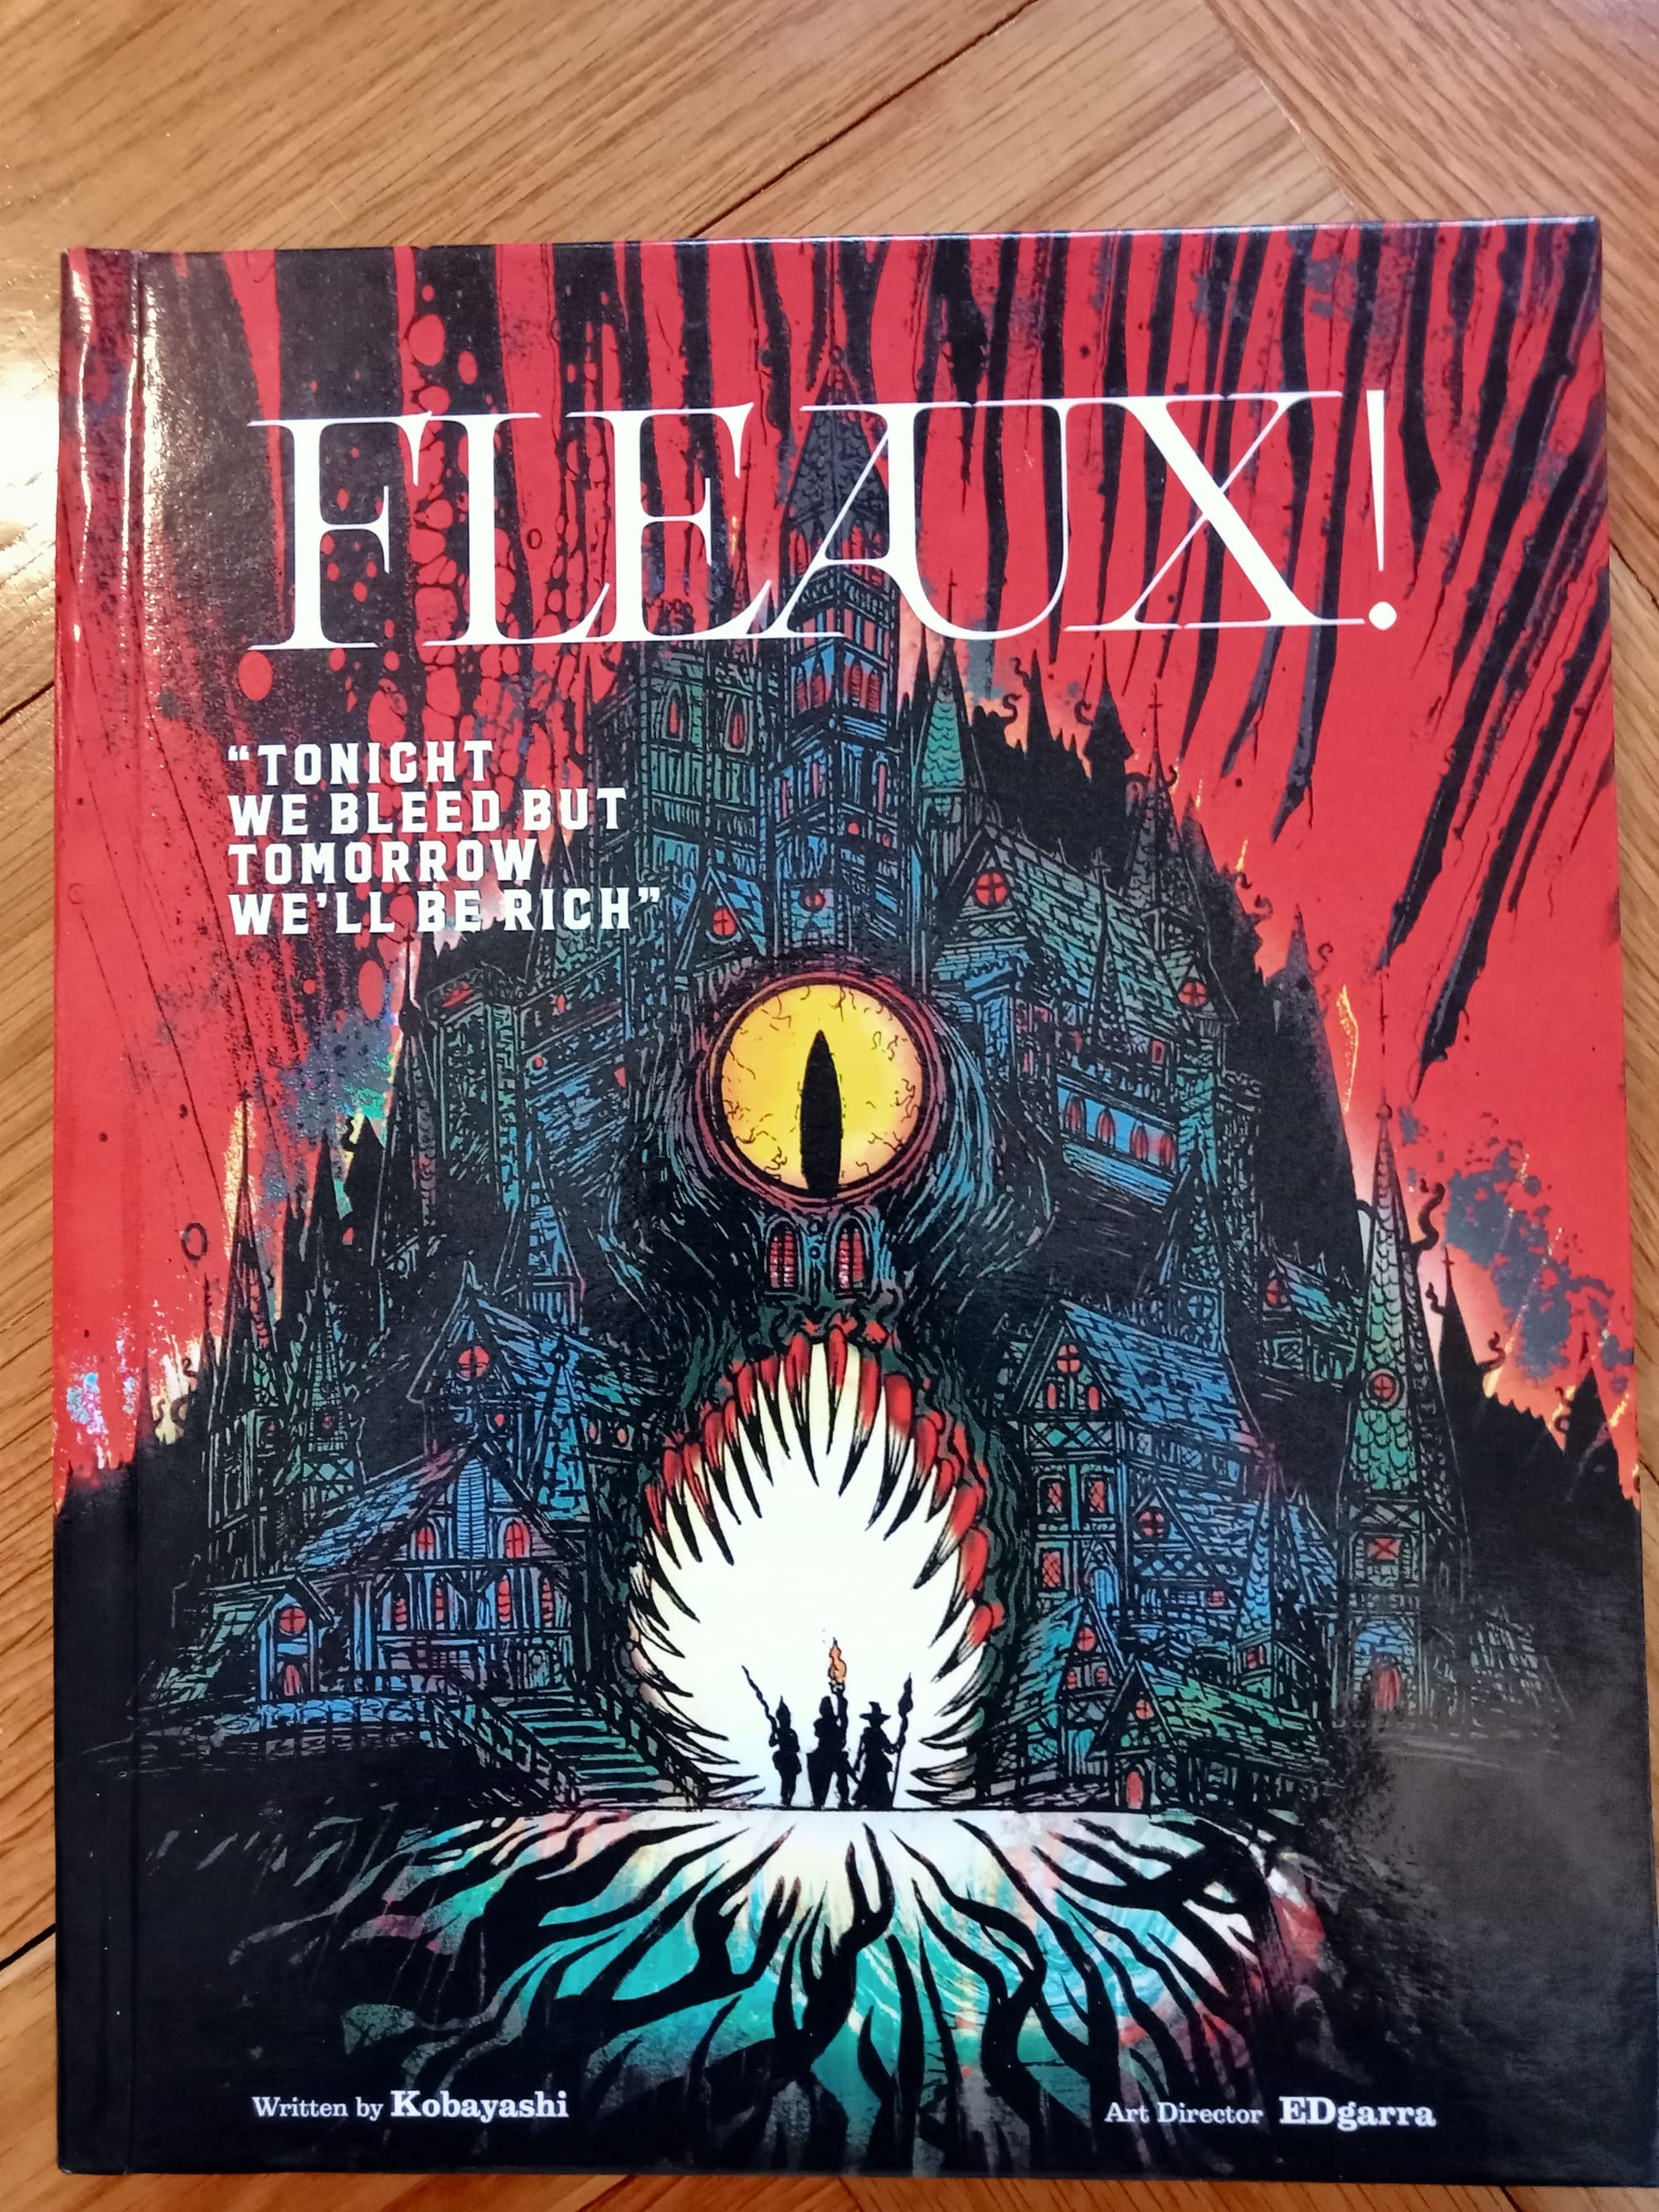
I'm a fan of Fléaux. It has later than medieval feel, grim setting, fluid rules. It's classless, lightweight, fast but has a flavourful magic system and quick combat.
Plus Willpower as a diminishing resource is one of my favourite mechanics I've seen.
I also like the d6 recovery table, only taking effect after combat finishes. You character is either scarred, injured, or dead. If they're alive they have a few hp, so you're never left with an unconscious character...
I'll take a look at Black Sword Hack and other bits by Kobayashi
Final Thoughts Thoughts on Plot Unfolding Machine (PUM)
fléaux thoughts | pum notes | pum lists | scenes | chars & notes
Building on previous Thoughts on PUM.
I like PUM and it's been a pleasure to use it. It's flexible and has all the tools to create an engaging solo adventure, or the tools to customise it to work how is best for you.
One thing I did do is ignore the plot structure (3 scenes of Exposition, 8 for Confrontation, 4 scenes for Resolution). I think it's a good idea, but I've been running solo games for a while so know my rhythms.
More importantly, I have the restriction of publishing for the blog using a four-part structure for Rolling Solo. So my story has to be finished by then, published /. wrapped up in whatever state it is
I did find PUM didn't always find the tools I was looking for when trying to describe something or a motivation! Possibly I could have used the plot nodes more to find some ideas or prompts. If I used it again I would supplement it with more of my own (or custom) random tables.
I also recently did an interview with PUM creator JeansenVaars, talking about Unfolding Machines and solo gaming.
PUM Lists
fléaux thoughts | pum notes | pum lists | scenes | chars & notes
On the PUM plot sheet I filled out any remaining empty entries before starting scene 9...
World and Game Elements
| 1d10 | World and Game Elements |
|---|---|
| 1-2 | Uncertain dusk / mists |
| 3-4 | Dangers from the ruins |
| 5-6 | A chaotic mix of chancers |
| 7-8 | Sea Monsters |
| 9-10 | Heretical cults |
Relevant Encounters
| 1d10 | Relevant Encounters |
|---|---|
| 1-2 | Servants of the Prophet |
| 3-4 | An old rival |
| 5-6 | The Bounty Hunter - Reef |
| 7-8 | Roll on d6 Plot Hooks for Holsteinhaven in Fléaux book |
| 9-10 | Swirl Windward |
Useful Findings
| 1d10 | Useful Findings |
|---|---|
| 1-2 | A clue about the Rectangular Shield |
| 3-4 | A Rectangle |
| 5-6 | A treasure of the ruins |
| 7-8 | An elven treasure |
| 9-10 | A shield |
Pending Questions
| 1d10 | Pending Questions |
|---|---|
| 1-2 | Where is the Prophet? |
| 3-4 | Who has hired them? |
| 5-6 | Is there more than one bounty hunter? |
| 7-8 | Where is Limata? |
| 9-10 | Does the Raised Garden move? |
Adventures of Albin, Morwen and Morgan
fléaux thoughts | pum notes | pum lists | scenes | chars & notes
Continuing on from Previous Adventures. Updated PUM Lists
Scene 9 - Toads of Toad Island (Morgan down 2 hp from spells)
(Random Beat - Location. Magic, Wet, Monster / Beast)
Led by Albin, the group follow a stream until the elf stops them. Ahead is a picturesque waterfall falling into a pool, with an island at its centre. On the island are statues and shapes of circles and suns, tended to by toadlike humanoids led by a commanding shaman. Morwen and Morgan recognise toadlings, who worship a sun deity opposed to the Rectangulons.
Morgan and Morven sneak away, leading Albin to lead their pursuers into the toadling holy place. Enchanted by the "Boneless" spell of Morgan, Albin gets the attention of the towering Reef and his companions. Chased by them through the undergrowth, Albin breaks out into the edge of the pool, angering the toadlings, who are further angered by the bounty hunter and his companions.
Albin breaks free, but Reef manages to pursue, his companions caught up fighting the toadlings.
Scene 10 - Reef Showdown (Morgan down 2 hp from spells)
(Proposed Beat - fighting Reef. Rolled Bring someone inconvenient, 3rd party, monster)
Reef chases Albin, so close to collecting his bounty when Morgan and Morwen interrupt, with a musket shot going wide. They fight on the shore of the river, Reef proving their match, telling them to surrender Albin. And a huge spider appears nearby, waiting, watching.
Morgan goes down to the bounty hunter's axe, and he faces a grim-faced goblin mercenary. Sensing victory, Reef attacks, only to slip and feel Morwens spear plunge through his chest, ending him. Albin quickly loots the bounty hunter, before they leave his body to the spider.
They flee into the forest carrying Morgan, sounds of toadlings behind.
Scene 11 - Respite (Morgan at 1 hp, Morwen and Albin at d4 Willpower)
(Proposed Beat - resting and making plan. roll of 5, cause frustration, stress, worry)
An hour later, the group catch a rest in a small clearing, Morgan recovered, . There are sounds of toads calling all around, as they are agitated. In the air they see a creature in the air, of a magical nature. a large bird with glowing fiery feathers. It's looking for something but group manage to avoid its gaze, and it flies on.
They decide to return to shore and take Reef's boat if it's still there. Albin lets Morgan have staff to fight as they the mage's axe with Reef. He also lets Morgan keep a jewelled bracelet found on the bounty hunter's body.
(Got a yes to oracle on if toadlings found group)
Scene 12 - At the Boat (Morgan at 6 hp, All at d4 Willpower)
(Random Beat - roll of 2, play a triggering plot catalyst. (8) show what a faction did here)
Reef's boat is still there, and inside is a pair of oars , along with a rectangular slate bearing the symbol of their patron. They must have had an agent among the bounty hunter's companions. Morwen reveals that their patron is the leader of the Rectangulons, a figure only know as the "Shield Priest" and enemy of the prophet.
This news is interrupted by the sounds of toadlings, who chase and attack, starting with a dart hitting the goblin, weakening her with poison. Morwen faces their attackers as elf and mage push boat into the water. The goblin's musket misses the four toadlings, but causes them to pause.
Morgan tries to manage the boat, as a sling bullet from Albin takes down one warrior and Morwen's spear another. Morwen stops feeling the poison and impales another toadling warrior. The last retreats, although there are distant sounds of more of them.
The group get in the boat and row quickly away...
Levelled up here to 3rd level, each character gaining a hp and each gaining a talent. Morwen gained Angel of Death (crit on 1-3 instead of 1), Morgai gained Luck Bastard (1/session ignore damage from attack by sacrificing weapon, armour or shield). And Albin gained Composed (return willpower to max after a short rest)
Scene 13 - Queenswood Hermitage (Morgan at 6 hp, All at d4 Willpower)
(Random Beat - roll of 1, complication. (1) attack, trap or an ambush)
Group rest a little as they row, swapping over so that two row and one rest. Tired when they reach the hermitage of Queenswood Isle at dusk. They've been trying to reach the hermits here since leaving Holsteinhaven, heretics who study rectangles.
It appears no one is around, with no activity from the wooden huts beyond the rectangular palisade. The front gate is open and a couple bodies lie before it. so they pull up the boat and send Albin in to investigate.
A large wooden rectangle has been fixed to a post by gate. As Albin sneaks past the rectangle animates changing into a wooden humanoid form, as does another one from within the hermitage. Morgan and Morven recognise these as soul eaters, servants of the Prophet. Albin hides among the shrubbery.
(Disruption - meet or recall a notable character)
From within the hermitage hear a female voice shout out, asking who's there. Morwen recognises it as Swift Windward.
Combat begins, Morwen hits with musket, and although the soul eaters are dangerous, the group use axe and melee to defeat them while taking several blows.
Scene 14 - A Swirly Mist (Morgan at 6 hp, Morwen at 2 hp, Albin at 8 hp, All at d4 Willpower)
(Random Beat - roll of 7, reflect a world or game element. Uncertain Mists)
A mist sweeps in as the three creep inside through the gate, weapons at the ready and torch lit. Rectangular wooden structures lie beyond, decorated with beautiful art of rectangles, that sparkle in torchlight. Morgen concerned about the library. It's quiet here.
A voice calls out that hermits have left and no visitors may enter. Morgan recognises voice, calling "Snake?", adding they are Rectangulons seeking the hermits. Is challenged again by the voice and wrongly guesses password. These are human servants of the Prophet, that Morwen and Morgan keep occupied, asking to trade for Swirl.
During this Albin sneaks in among mist, finds a box, with rectangular cakes made by hermits. Known to have arcane effects and labelled "Shield Cake". Takes them and sneaks further in locating Swirl, who is tied and gagged. Cuts bonds and stealthily leads Swirl away. Snake and companion shout out to others here but group manages to retreat.
Swirl thanks thenm and tells them of a village nearby, where visitors to Queenswood Hermitage usually wait. It's guarded by mercenaries from Holsteinhaven and let in when seen with Swirl. She thanks group and will talk more after a chance to rest.
Scene 15 - An Uncertain Welcome (Morgan at 6 hp, Morwen at 2 hp, Albin at 8 hp, All at d4 Willpower)
(Proposed Beat - arrive at village. Roll of 4, make location less favourable)
As they row into the village beach, shouts of warning but Swirl Windward shouts it's her. Guards and villagers greet them. Albin introduces himself, says they have come to see the hermits (fails Cha check), but he's mostly ignored.
They are far more interested in Morwen, introducing herself as a mercenary with bad day. They have defeated Reef the bounty hunter and seek a place to rest. This gets them in as at least one mercenary here hated Reef.
Pay to stay here and rest, as Swirl tells them of betrayal of her passengers on the Windward when they arrived at the hermitage. It was the Prophet of Rectangles and their servants. Had converted her crew and some among the hermits, killing others. Then their leader and most left on the Windward, seeking something. Thinks some hermits hid books in the hermitage. Albin goes scouting after rest, spotting a ship anchored here.
Morwen has a plan, to pool resources, get Swirl the ship, hire mercenaries from here, find the Raised Garden of Asquin using magic of Morgan. Then she claims to have a way to defeat statue and gain Rectangular Shield.
The rest have no better ideas so it's a goer. Swirl offer them a place in her expedition if they ever return to Holsteinhaven.
Scene 16 - Windward Storm (All healed and at max. Morgan at -2 hp from spells)
(Proposed Beat - talk to Mercenaries. Roll of 2, bring someone quite invonvenient)
In village rumours spread that they slew Reef and returned with Swirl Windward. Then many toadlings are sighted nearby, investigating the Hermitage. Albin does a deal, helped by Swirl. He gives a speech about dead hermits and the toadlings, how they slew Reef, rescued Swirl and can get them off here and headed somewhere safe, and has work for those who want pay.
Gets a positive response, Swirl gets ship as owner apparently missing. Renames it the Windward Storm. Group use own coin, jewels from Reef, shield cake, keeping some back as final payment for mercenaries.
Scene 17 - Storms and Windwards (All healed and at max. Morgan at -2 hp from spells)
(Proposed Beat - At the Raised Garden of Asquin. Roll of 4, add some trouble, or bad news)
Drop off extra passengers on an island, track down Raised Garden of Asquin using the Blood Mark spell of Morgan (from Scene 7), sailing on the Windward Storm with Swirl Windward and hired mercenaries.
Following them is another ship, that they recognise as the Windward, flying the symbol of the Prophet of Rectangles. Swirl is excited at possibility of getting back ship. But others interested in Raised Garden of Asquin, which they find over sea north-east of Queenswood Isle. They have time to reach it before the Windward catches them.
(Interrupt - Challenge - something to resist or withstand. Prompts of flying and storm)
As they approach the floating temple of the Raised Garden, there's a shout, as a creature has flown from Queenswood Isle. A large glowing red bird, bearing a toadling shaman. A storm follows in its wake, passing over both ships. Morwen stands on prow of ship, gaining attention of shaman with the golden rectangle (taken from golden rectangle creature in chest). She throws the rectangle into the sea, and strangely it floats. The bird dives for it but does not stop.
Morwen signals to open fire, but missile fire barely injures bird or shaman, but anger them. Ann the storm hits both ships.
The Windward and the Prophet struggle with the storm, while the Windward Storm fares better, captained by Swirl and crew directed by Albin, a natural leader.
When the storm calms after a few hours, the Windward Storm has weathered it. There's no sign of shaman, other ship or the Prophet. Morgan tells them he marked the golden triangle and it is growing further away, probably carried by the shaman.
Nearby is an island of the Ruins some recognise. A place known to be cursed. Above it floats the Raised Garden of Asquin. So that's where they head.
Scene 18 - Into the Ruins
(Random Beat - at Interesting Location)
Ahead they see the Raised Garden above raised fortress, that stands among the ruins of the city. A few toadlings watch from the ruins.
Albin gives another speech about destiny to the crew and mercenaries. About seizing the floating temple at side of Swirl Windward and the Gold Walker, once a common mercenary just like them!
Mercenaries ready to go and Swirl as well. Leave a crew on the Windward Storm. Many now have shields or makeshift ones. And symbols of rectangles.
Group lead mercenaries and Swirl up to fortress, watched by toadlings, but not challenged buy them. A little worrying, but get to edge of fortress.
Scene 19 - Fortress of Rectangles
(Random Beat - meet interesting character)
Before them, blocking way into the fortress is Mother Grime, the youthful priest of Asquin, her old eyes glowing golden. Beside her stand guardians, spirits of fire. Shouts to them that they are here to witness the Rebirth of Asquin, rebirthed at dawn from the Gardens. She asks them to wait with her, but Morwen replies that it will be the Shield that rises, as that is the symbol the bronze statue bears. At this combat begins.
Albin leads mercenaries against fire spirits, Morgan and Morwen go to confront Mother Grime and her two human guards. Swirl Windward keeps back, simply watching.
Magic from Mother Grime's eyes blinds two mercenaries, as arrows and blows fly. And a musket misses. Her eyes start to bleed golden energy, as she sheds her body. Mercenaries fare badly against fire spirits. Morwen struggles against guards, as Morgan inured by an arrow and casts his Boneless spell, then disappears , squeezing through an arrowslit.
(Interrupt - bring someone quite inconvenient)
From with in the fortress they hear and feel heavy footsteps, as something large approaches. Morwen takes down opponent as Morgan appears near Mother Grime. She is shedding skin, flames leaping from her to the bronze statue, which bears the Rectangular Shield.
Morgan sees the shield, which was their objective all this time and goes for it. Sneaks up to guardian through narrow gap, then reaches up for shield, marking it with blood and the Blood Mark spell (magic mishap afterwards - no more spells for day). Then Morgan clambers up statue to strap on the shield.
A clap thunders out from the statue, the Rectangular Shield and Morgan flying away from it. Then it shudders, and it takes on the visage of Mother Grime. Energy of light and fire fly around, consuming the fire spirits and sending blasts around.
Morwen blinded by a light from Mother Grime, but this seems not to hinder her, as she brings down the last guard, taking injuries in the process. Then a streak of fire lays her low. (panic roll from depleted willpower).
A few mercenaries remain, and Albin rallies them for whatever is next.
Moments later, Morwen opens eyes to see Morgan floating on the Rectangular Shield and Mother Grime possessing the statue. She shouts for them to take the shield, and prepares for the worst.
The Golem Grime strikes Morgan from the floating shield. But finds moments later an elf has climbed a statue and now grabbed the statue. Morwen then runs forward, challenging Grime and getting her attention.
While golem distracted, Albin leads the mercenaries away with the shield, bearing body of Morgan. The goblin warrior is crushed by the statues foot, but gave vital moments to her companions. They run, Albin scorched by one bolt of fire and a mercenary felled by another.
And then they're out of the fortress and another gives Golem Grime pause. Swift Windward switches from watching, greeting Golem Grime, saying she has been waiting, and they still have business to discuss. Two two enter the fort and Raised Garden.
When Morgan awakes (-1 permanent strength), he is in great pain, but on board the Windward Storm. Beside him is Albin, with the Shield of Rectangles.
End.
Epilogue
Morwen awoke with the dawn, something broken in her body. Around her were toadlings and above she could see the Raised Gardens floating, bathed in fire. She was bound, and the last she saw was a toadling priest, arms raised, a dagger ready to make sacrifice to the new sun god...
...
And so it came to be that Morgan of the Shield became the leader of the Rectangulons. And before him was the elf Albin, preaching of the Shield and of Morwen the Martyr, first to fall in their struggle against the followers of Asquin the New Sun.
...
And the ships of the Westward expedition departed, each bearing priests of Asquin the New Sun. All reported to Golem Grime, who sat watching from the floating Radiant Gardens of Asquin, with great plans for the world in motion...
Characters and Adventure Notes
fléaux thoughts | pum notes | pum lists | scenes | chars & notes
Albin
Elf (Talking to foreign merchants) Burglar, Accused of killing a royal officer. Resourceful, distant, odd mismatch of clothes.
STR 12, DEX 11, ERU 9, CHA 12, GUT 10, MEL 9, SHO 11
Level 2, HP 14. Advantage on Climbing, Lockpicking and Stealth., talents (Composed)
Equipment: Sling, rope, grappling hook, mirror, lockpicks, sword, throwing axe, 9 shillings
Morwen
Goblin (Mines owned by elders) Mercenary, Accused of being an apostate. Ambitious, acolyte of Rectangulons, seeking the Rectangular Shield, wears rectangular pieces of colourful cloth.
STR 10, DEX 10, ERU 9, CHA 9, GUT 12, MEL 12, SHO 10
Level 3, HP 12. Damage die +1 size, talents (Angel of Death)
Equipment: Light armour, knife, spear (d8, 2-handed), backpack, parchment, ink and quill, 29 shillings.
Morgan
Human (Farm) Sorcerer's Apprentice, accused of killing a noble. Old, favours precious jewellery
STR 11, DEX 10, ERU 12, CHA 9, GUT 11, MEL 10, SHO 9
Level 2, HP 13 (10). , talents (Lucky Bastard), Know spells Bloody Mark and Boneless. Marks on golden rectangle, a door in Floating Garden of Asquin and Shield of Rectangles
Equipment: Knife, 20 shillings, shield with rectangles, jewelled bracelet from Reef, iron-tipped staff, sword, throwing axe
NPCs
- Swirl Windward. Owns ship the Windward Storm. Famous explorer, distinctive hair, putting together expedition.
- Limata. Stinking human trader (foul incense). Assistant. Believes Reef is after her. Hoping to hide among hermits. Old enmity with Mother Grime.
- Biscuits. Odd Goblin assistant of Limata. Mismatched features.
- Slip. Chaotic fence, mismatch of clothes, monstly runs the Night Market. Claims to know where the Rectangular Shield is.
- Mother Grime. Powerful priest of Raised Garden of Asquin. Young, with old eyes. Carries a baby. Old enmity with Limata.
- Dagwood. Thin halfling, immaculately dressed. Well connected, feared. New owner of the Mojo. Heading to a magical island.
- Toadlings. Led by sun shaman, have magic flying golden servants, weather magic.
- Prophet of the Rectangles. Powerful priest of Rectangles, former mentor of Morwen and Morgan.
- The Shield Priest. Mysterious patron of Morwen, hired group. Leader of rectangle cult.
Finishing Up
I'm hoping to try a one-shot of Fléaux with my gaming group. And will take a look at the other Unfolding Machines, (Scene and Game)
Next up is another British Game, most likely Advanced Fighting Fantasy 2nd Edition, marking the first sequel after running Dungeoneer in 2023.
Happy Gaming!